

Using Adobe Podcast Studio
Probably the easiest way to podcast

In this guide we will look at how we can upload or record audio. Add music at the start. Remove background noise and enhance voices. Transcribe. Improve the transcription. Edit the audio by editing the transcription. And then export the edited audio and the transcription. This is all very easy to do.
The real magic of the Studio is that we can edit the audio by editing the text in the transcript. I don’t actually do this much, as I prefer podcasts that are more natural (“warts an’ all” as they say). But it can be really useful.
We can also record podcasts online with people anywhere in the planet!
1. Adobe account, free and paid
This is required, even to use the studio for free. Apple, Google, and Microsoft accounts can be used to create the Adobe account.
The free version is limited to 30 minute long podcasts, and a maximum of 1 hours a day. I have used this for longer podcasts, by breaking them into two, and then putting the edited sections together again using the Audacity editor.
Noise cancelation and voice enhancement is also limited in the free version, but still usable. The levels of cancelation and enhancement are set to a default and cannot be altered. In most cases I found the defaults to be OK (see the note on noise and enhancement settings below).
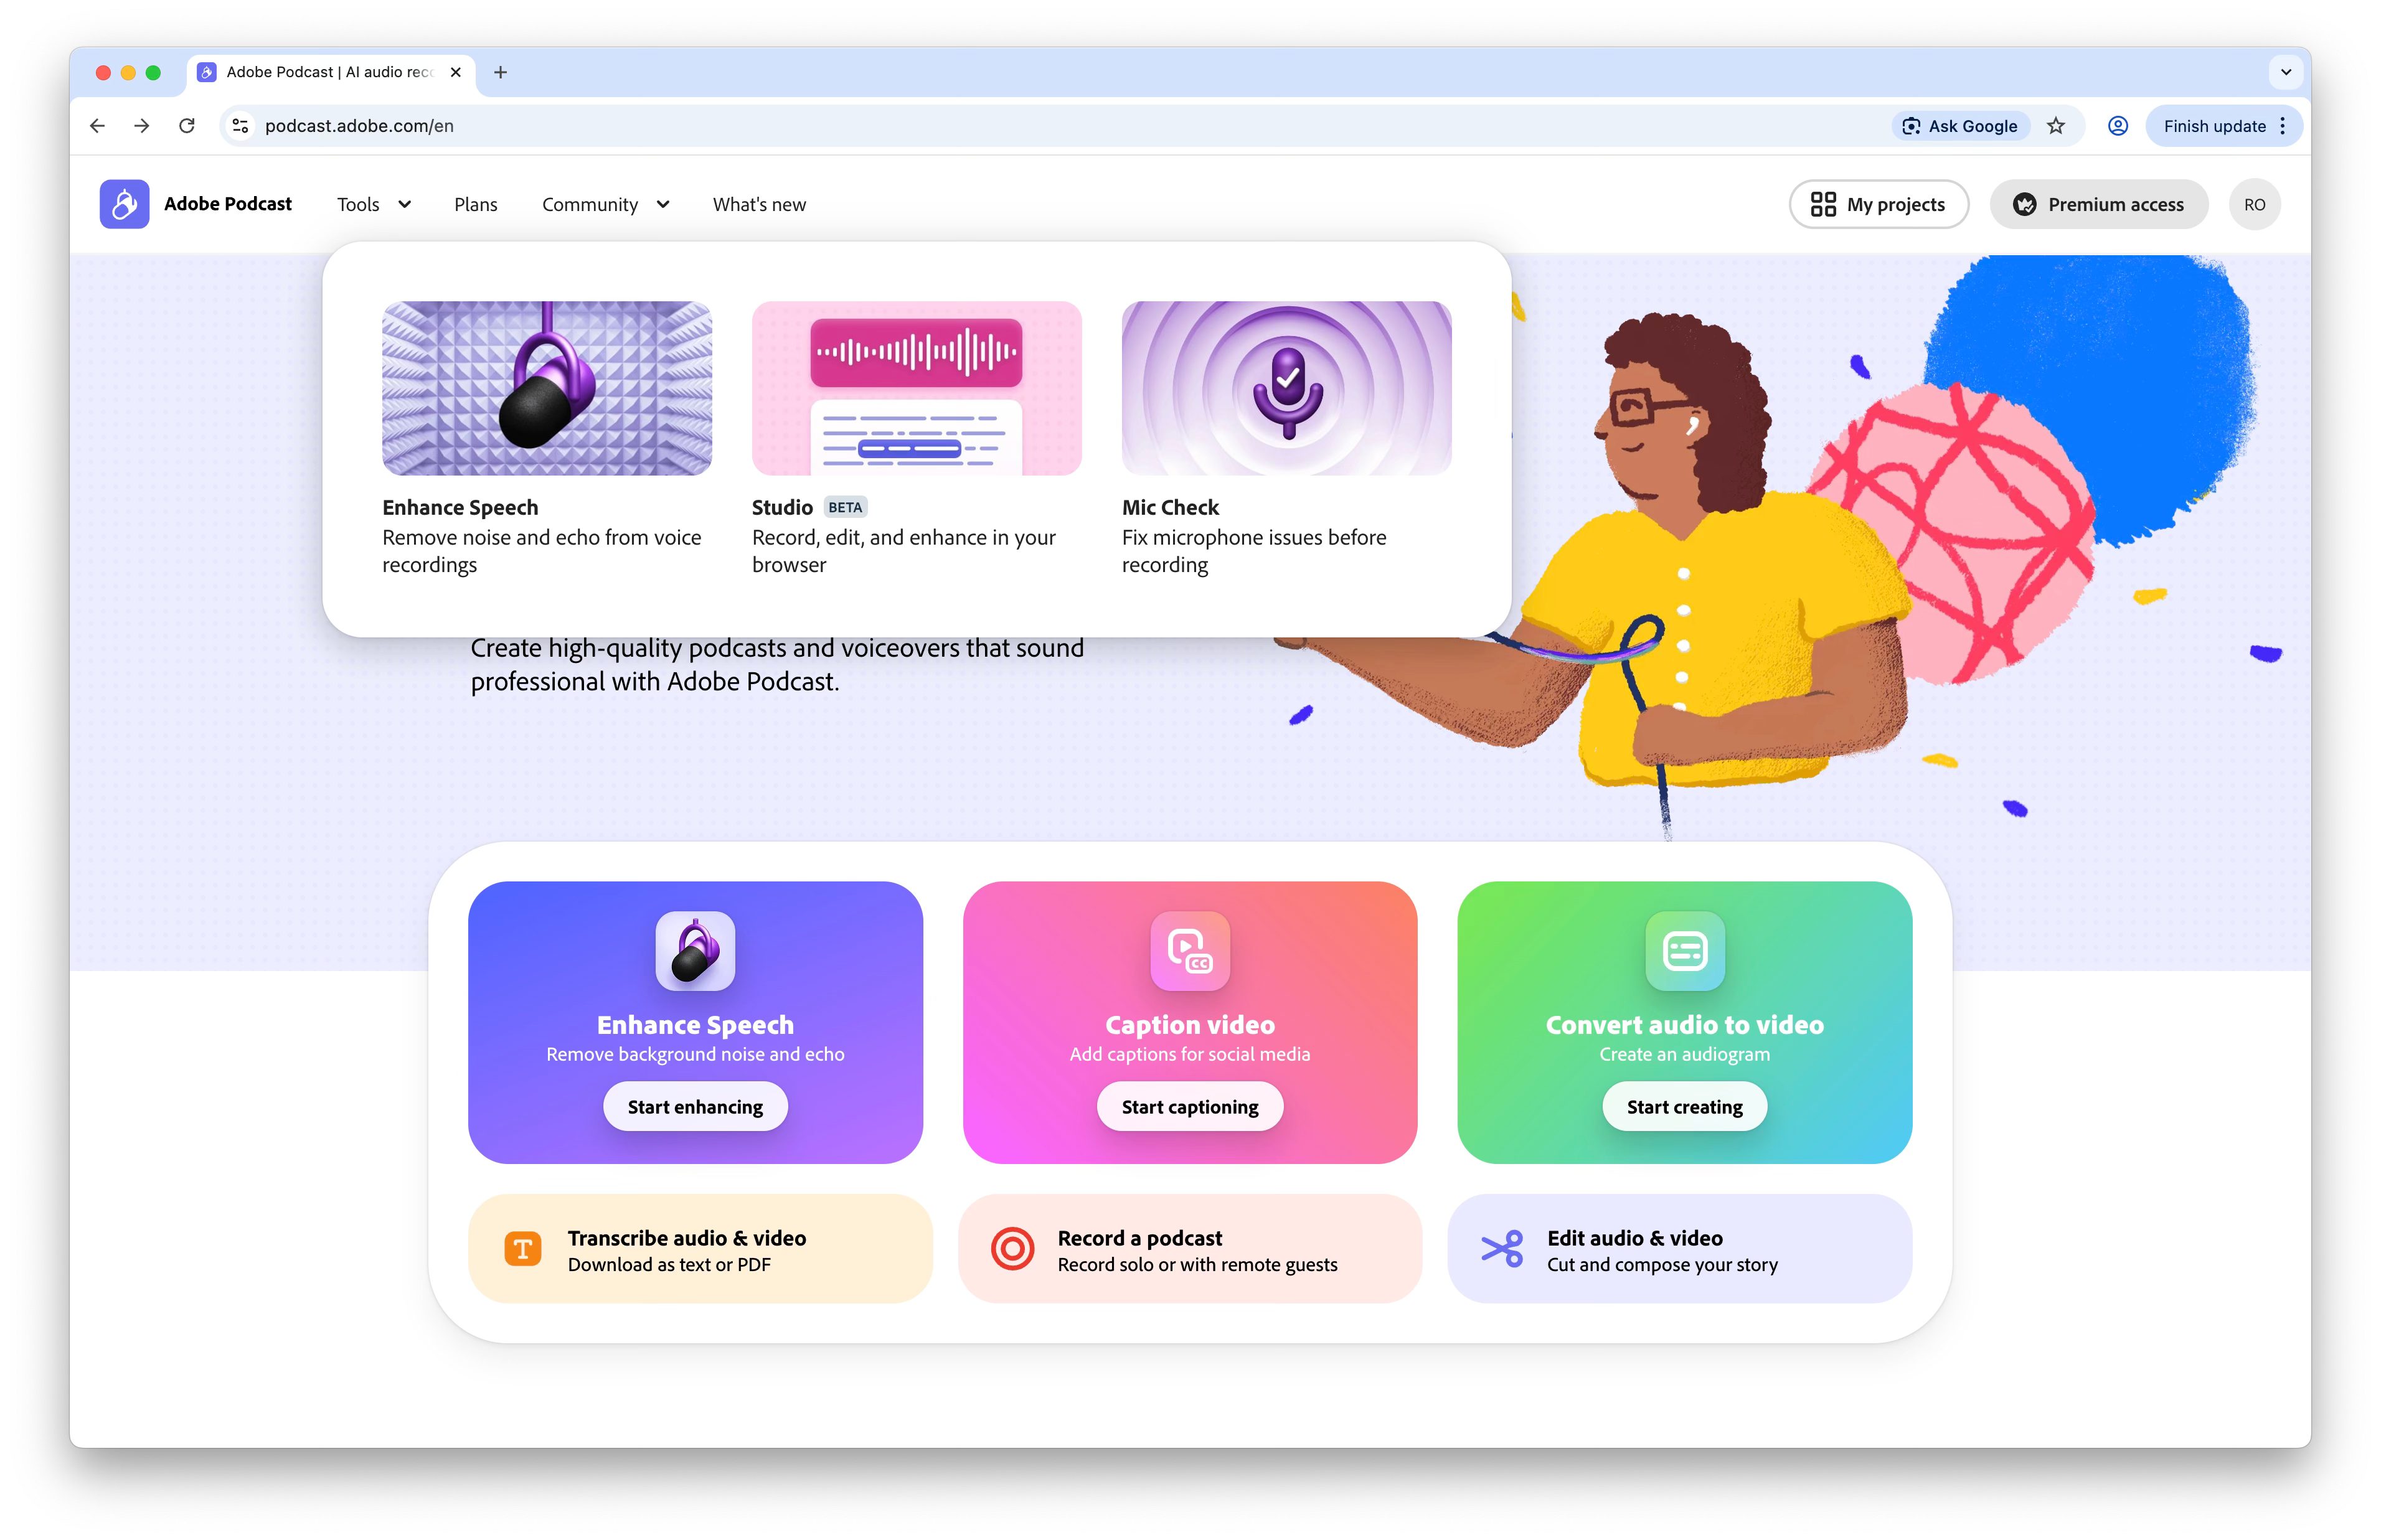
2. Tools in the suite
On the Adobe podcasting homepage you will see some other useful tools: a simple tool for enhancing existing edits, and a tool for checking mic settings (I haven’t tried that).
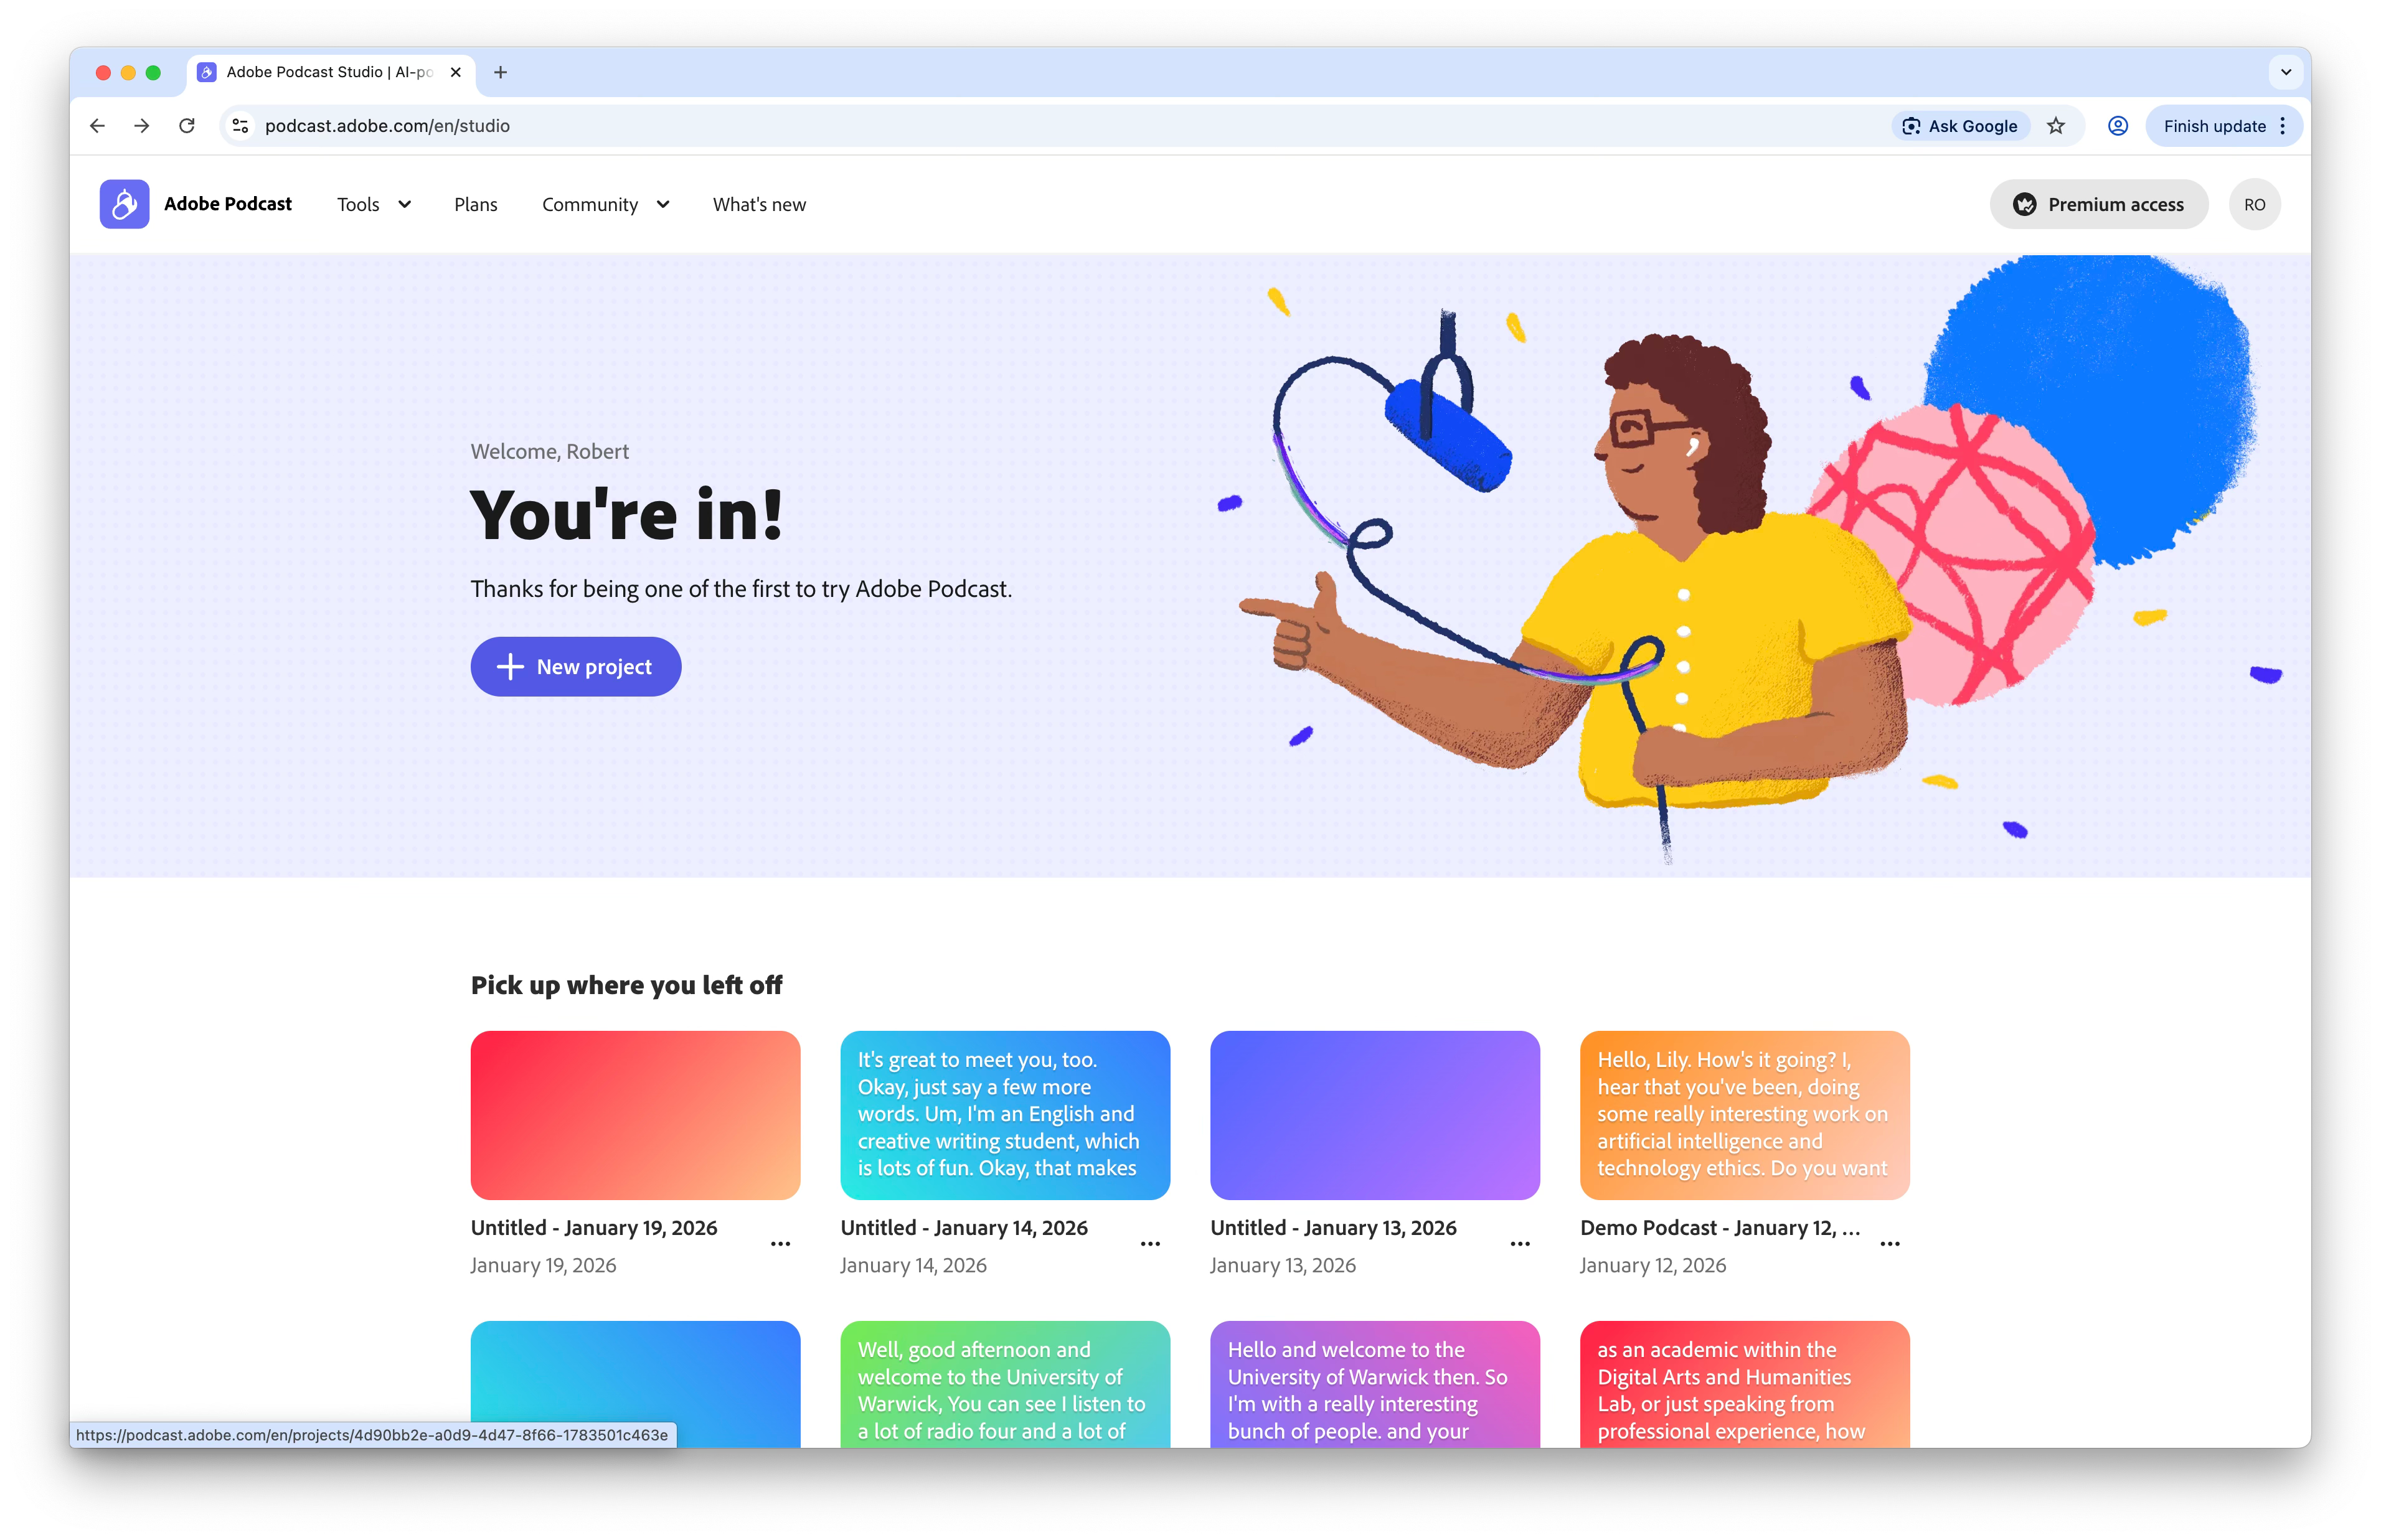
To get to the Studio, select the Tools option in the menu at the top, and then Studio.
You will see your previous projects listed in the bottom half of the screen, and an option for New Project.
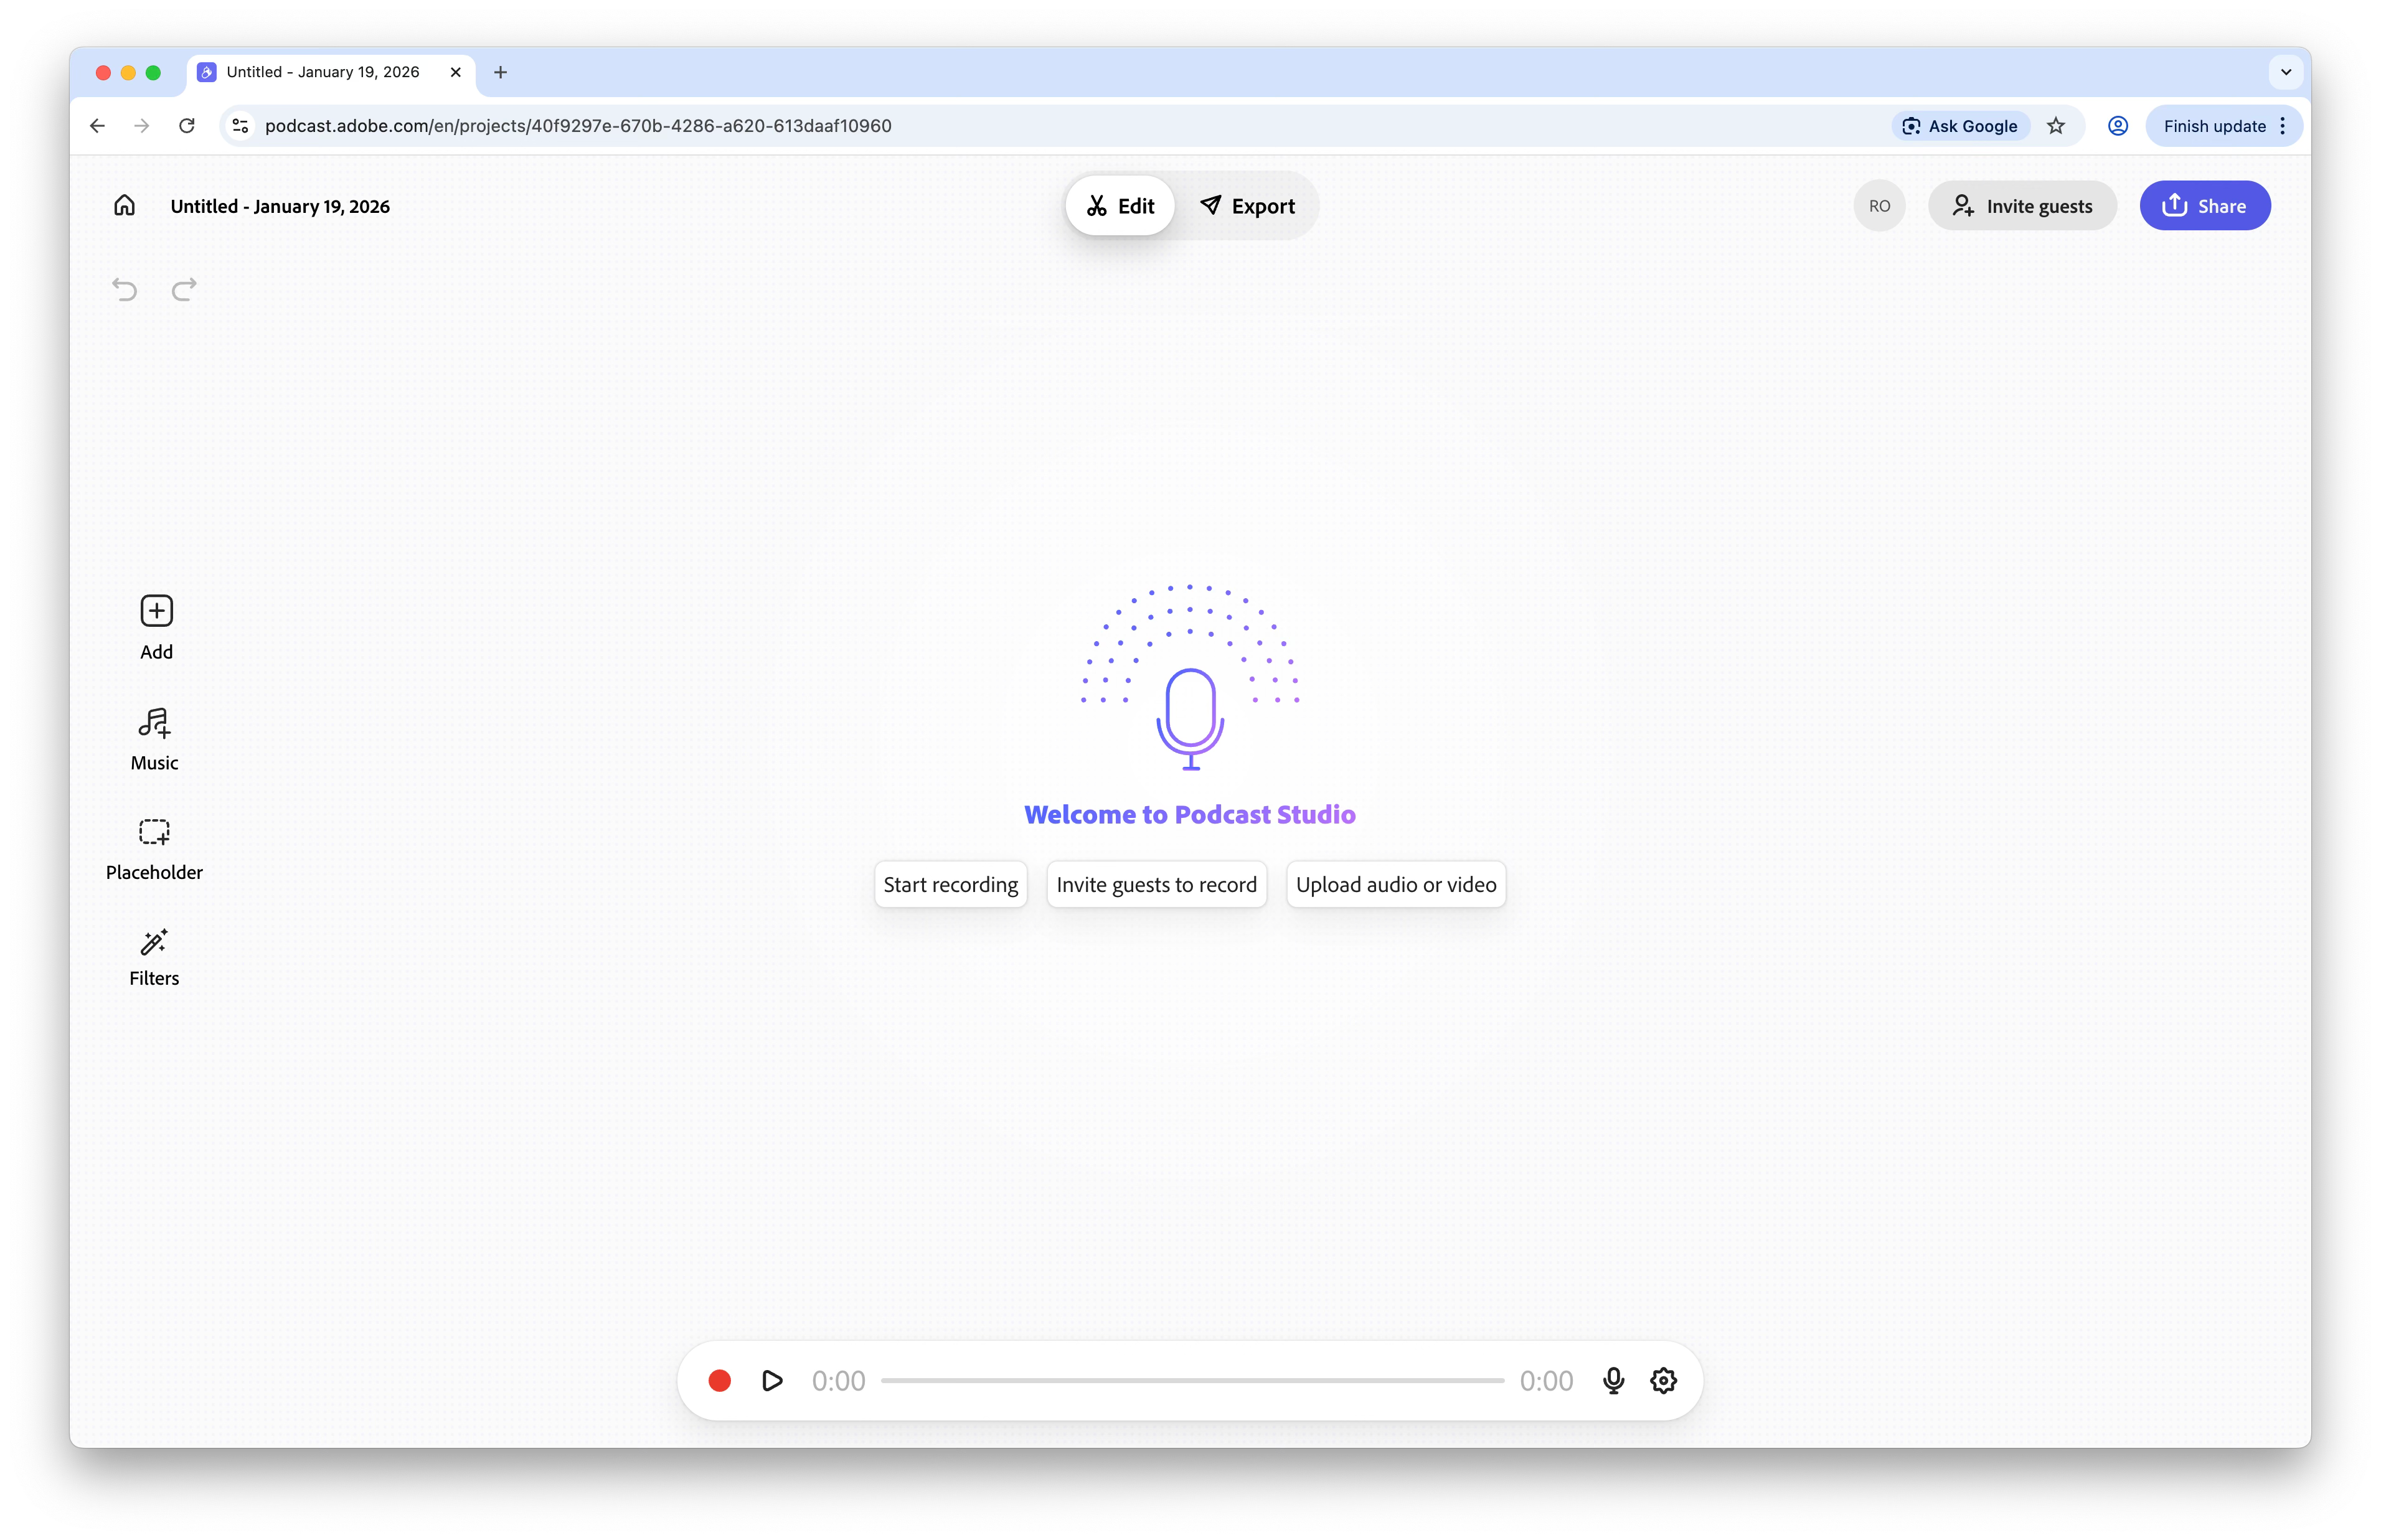
3. Getting started
Next we have three obvious options:
Just start recording straight into the studio - you may need to configure your mic first, see this article.
Invite guests to record online - you can record together with people over the internet.
Upload audio or video - see the article on using Audacity to record audio, this is what I usually do.
But actually you might first want to:
Organise the structure of your podcast using placeholders (see step 4).
Add a short musical intro (see step 5).
4. Plan your podcast with placeholders
You should first plan out the structure. Add placeholders with descriptions. They can be moved around by grabbing and dragging the handle that appears in the top left when we hover the mouse over them. And then deleted when not needed.
When you add voice recordings, you can add it over the top of the placeholder. That helps to get it into the correct location.
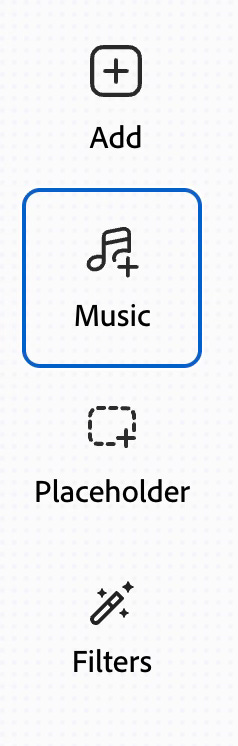
5. Adding music
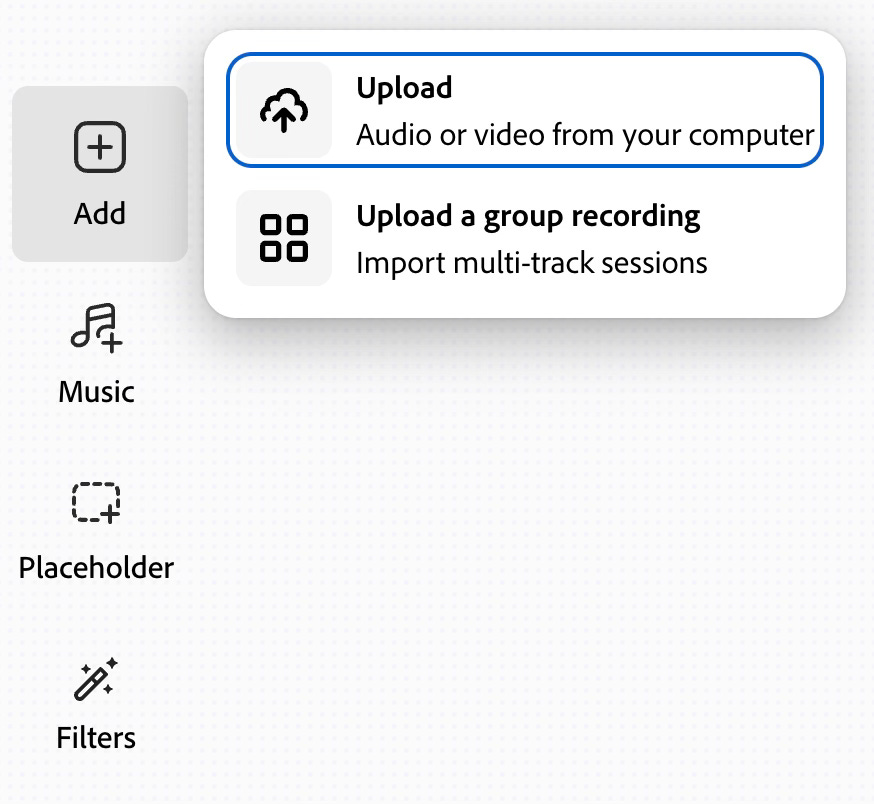
Click on the Music button in the list down the left of the window.
Browse through the available free stock audio, listening to available options to choose something appropriate, or upload your own music (beware of copyright, you can’t use it without a license). Then click the + button to add it in. Music can also be added at any point in your podcast.
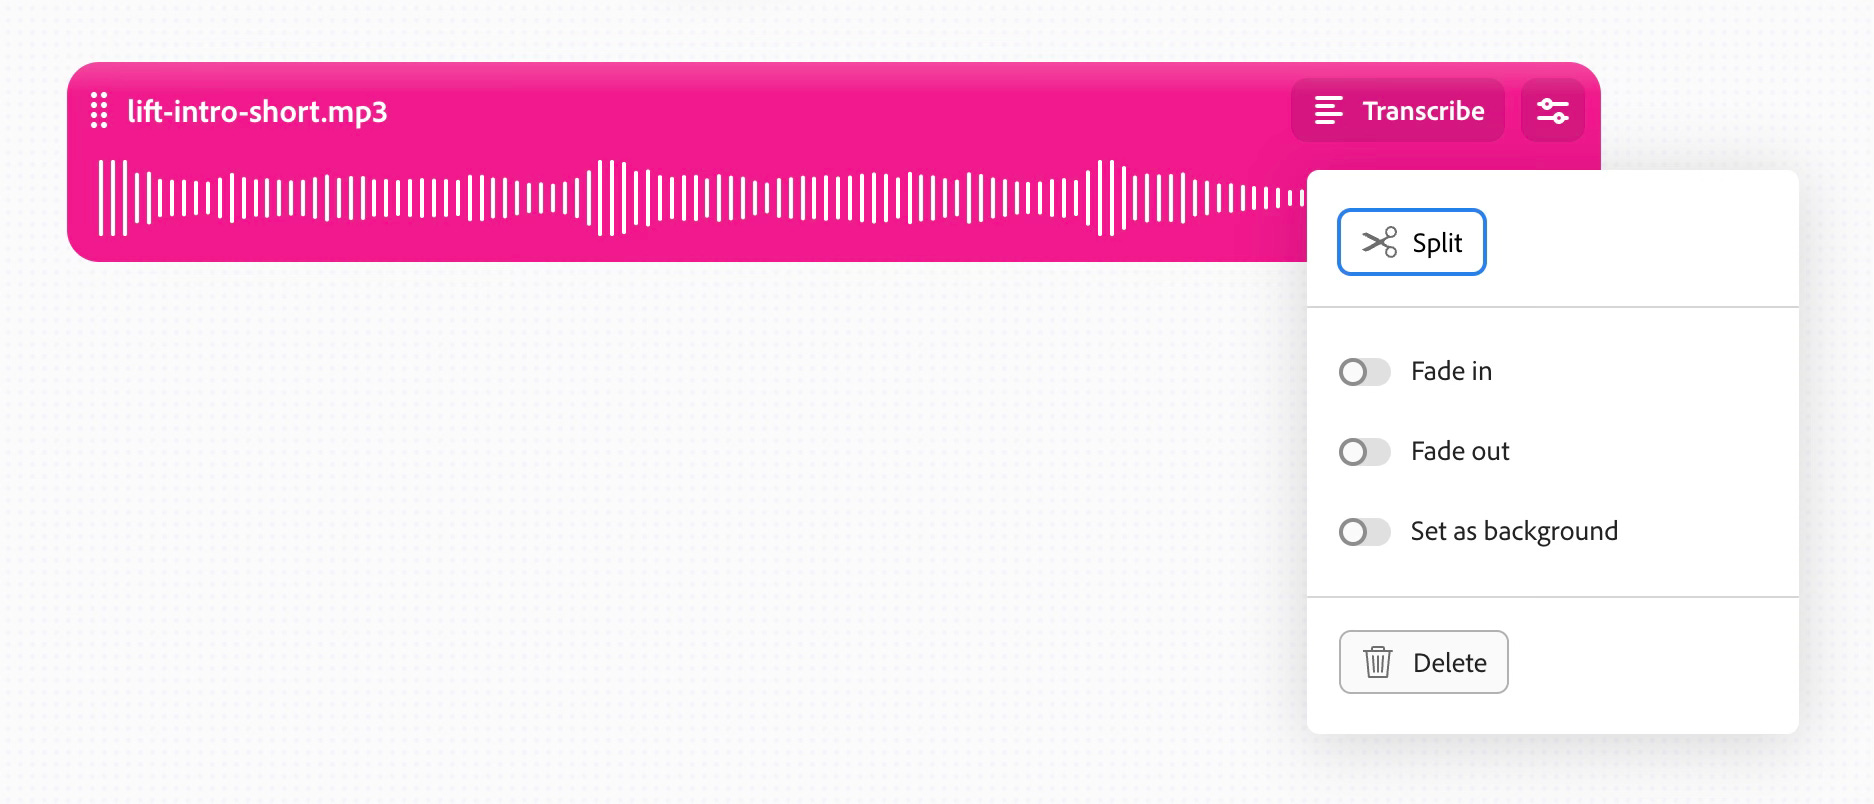
The music is added into the edit. If you click on the options button at the top right of the music track, a menu appears. This allows us to add fades, but also to put the audio behind the following spoken recording. So that you can have a cool podcast intro.
6. Record voices directly into the edit
You can use the mic build into your computer, or add an external mic. If doing the latter, you must make sure that the browser is using that mic. See this article especially section 2.8.
If you have created placeholders, select the placeholder you want to record over.
Otherwise the audio can be added into any point in audio that has already been transcribed, by selecting the word you want it to precede in the text.
Press the red button on the control at the bottom of the window to start recording. This can be paused, restarted, and stopped.
Once stopped, the audio is automatically transcribed. And can then be played back to check.
7. Uploading audio recording files
I often record audio in the Audacity app, save it as a file, and then import to the Studio for editing. See this article for info on how to use Audacity.
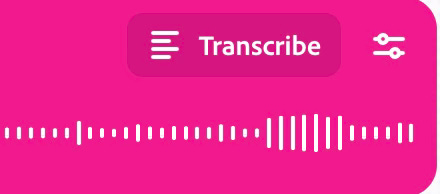
Uploaded audio is not automatically transcribed. You must click on the transcribe option.
8. Correct the transcription
Select a word or phrase, and use the Correct transcript option.
9. Editing the audio by editing the text
I don’t tend to do much editing for my podcasts, preferring the natural approach. But if you need to, the Adobe Podcast Studio makes it easy.
And this is where the real magic happens. We don’t have to do any tricky audio editing.
For example, we can select “So, um” and just press delete. It is removed from the transcript, but also seamlessly from the actual audio recording.
We can even cut and paste text to move it around the recording.
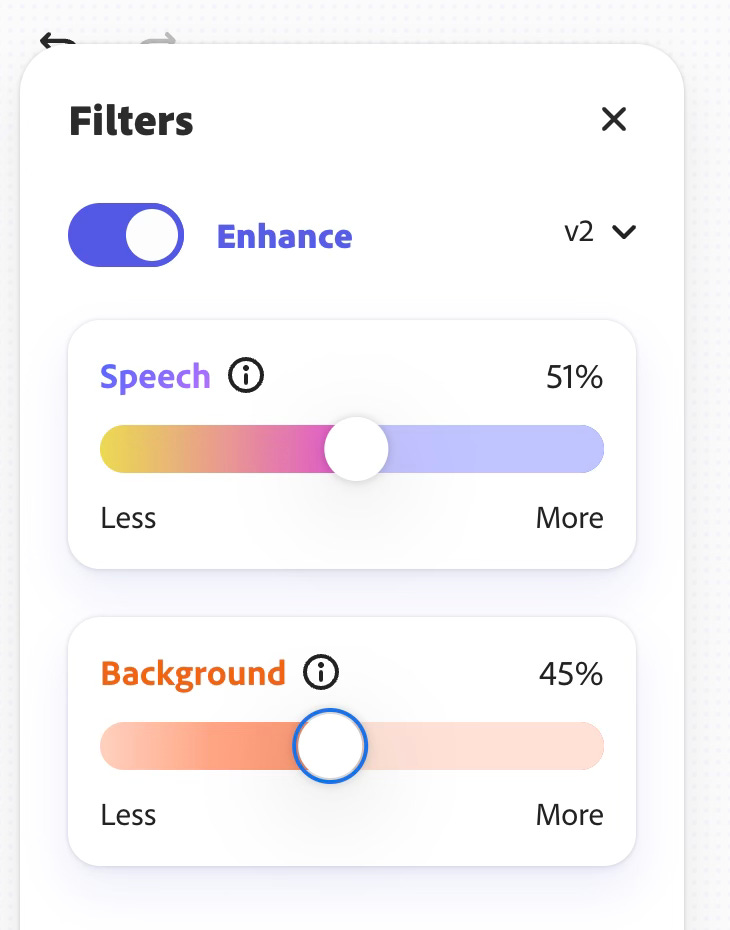
10. Enhancing voices and removing noise
Clicking on the Filters button on the left side of the window gives us these options. If you are using the Studio for free, you are stuck with the defaults, which are usually fine. If you have the subscription, you can dial up and down to suit. I found that especially useful when recording on location in museums, so that I could keep enough of the ambience in to give a real feeling of space and place.
11. Export audio and transcripts
And finally, we’re done! Hit the export button (top middle of the window), and export audio and transcript.
For the next steps in your podcasting workflow, see this article.